
Company settings and branding
Steps
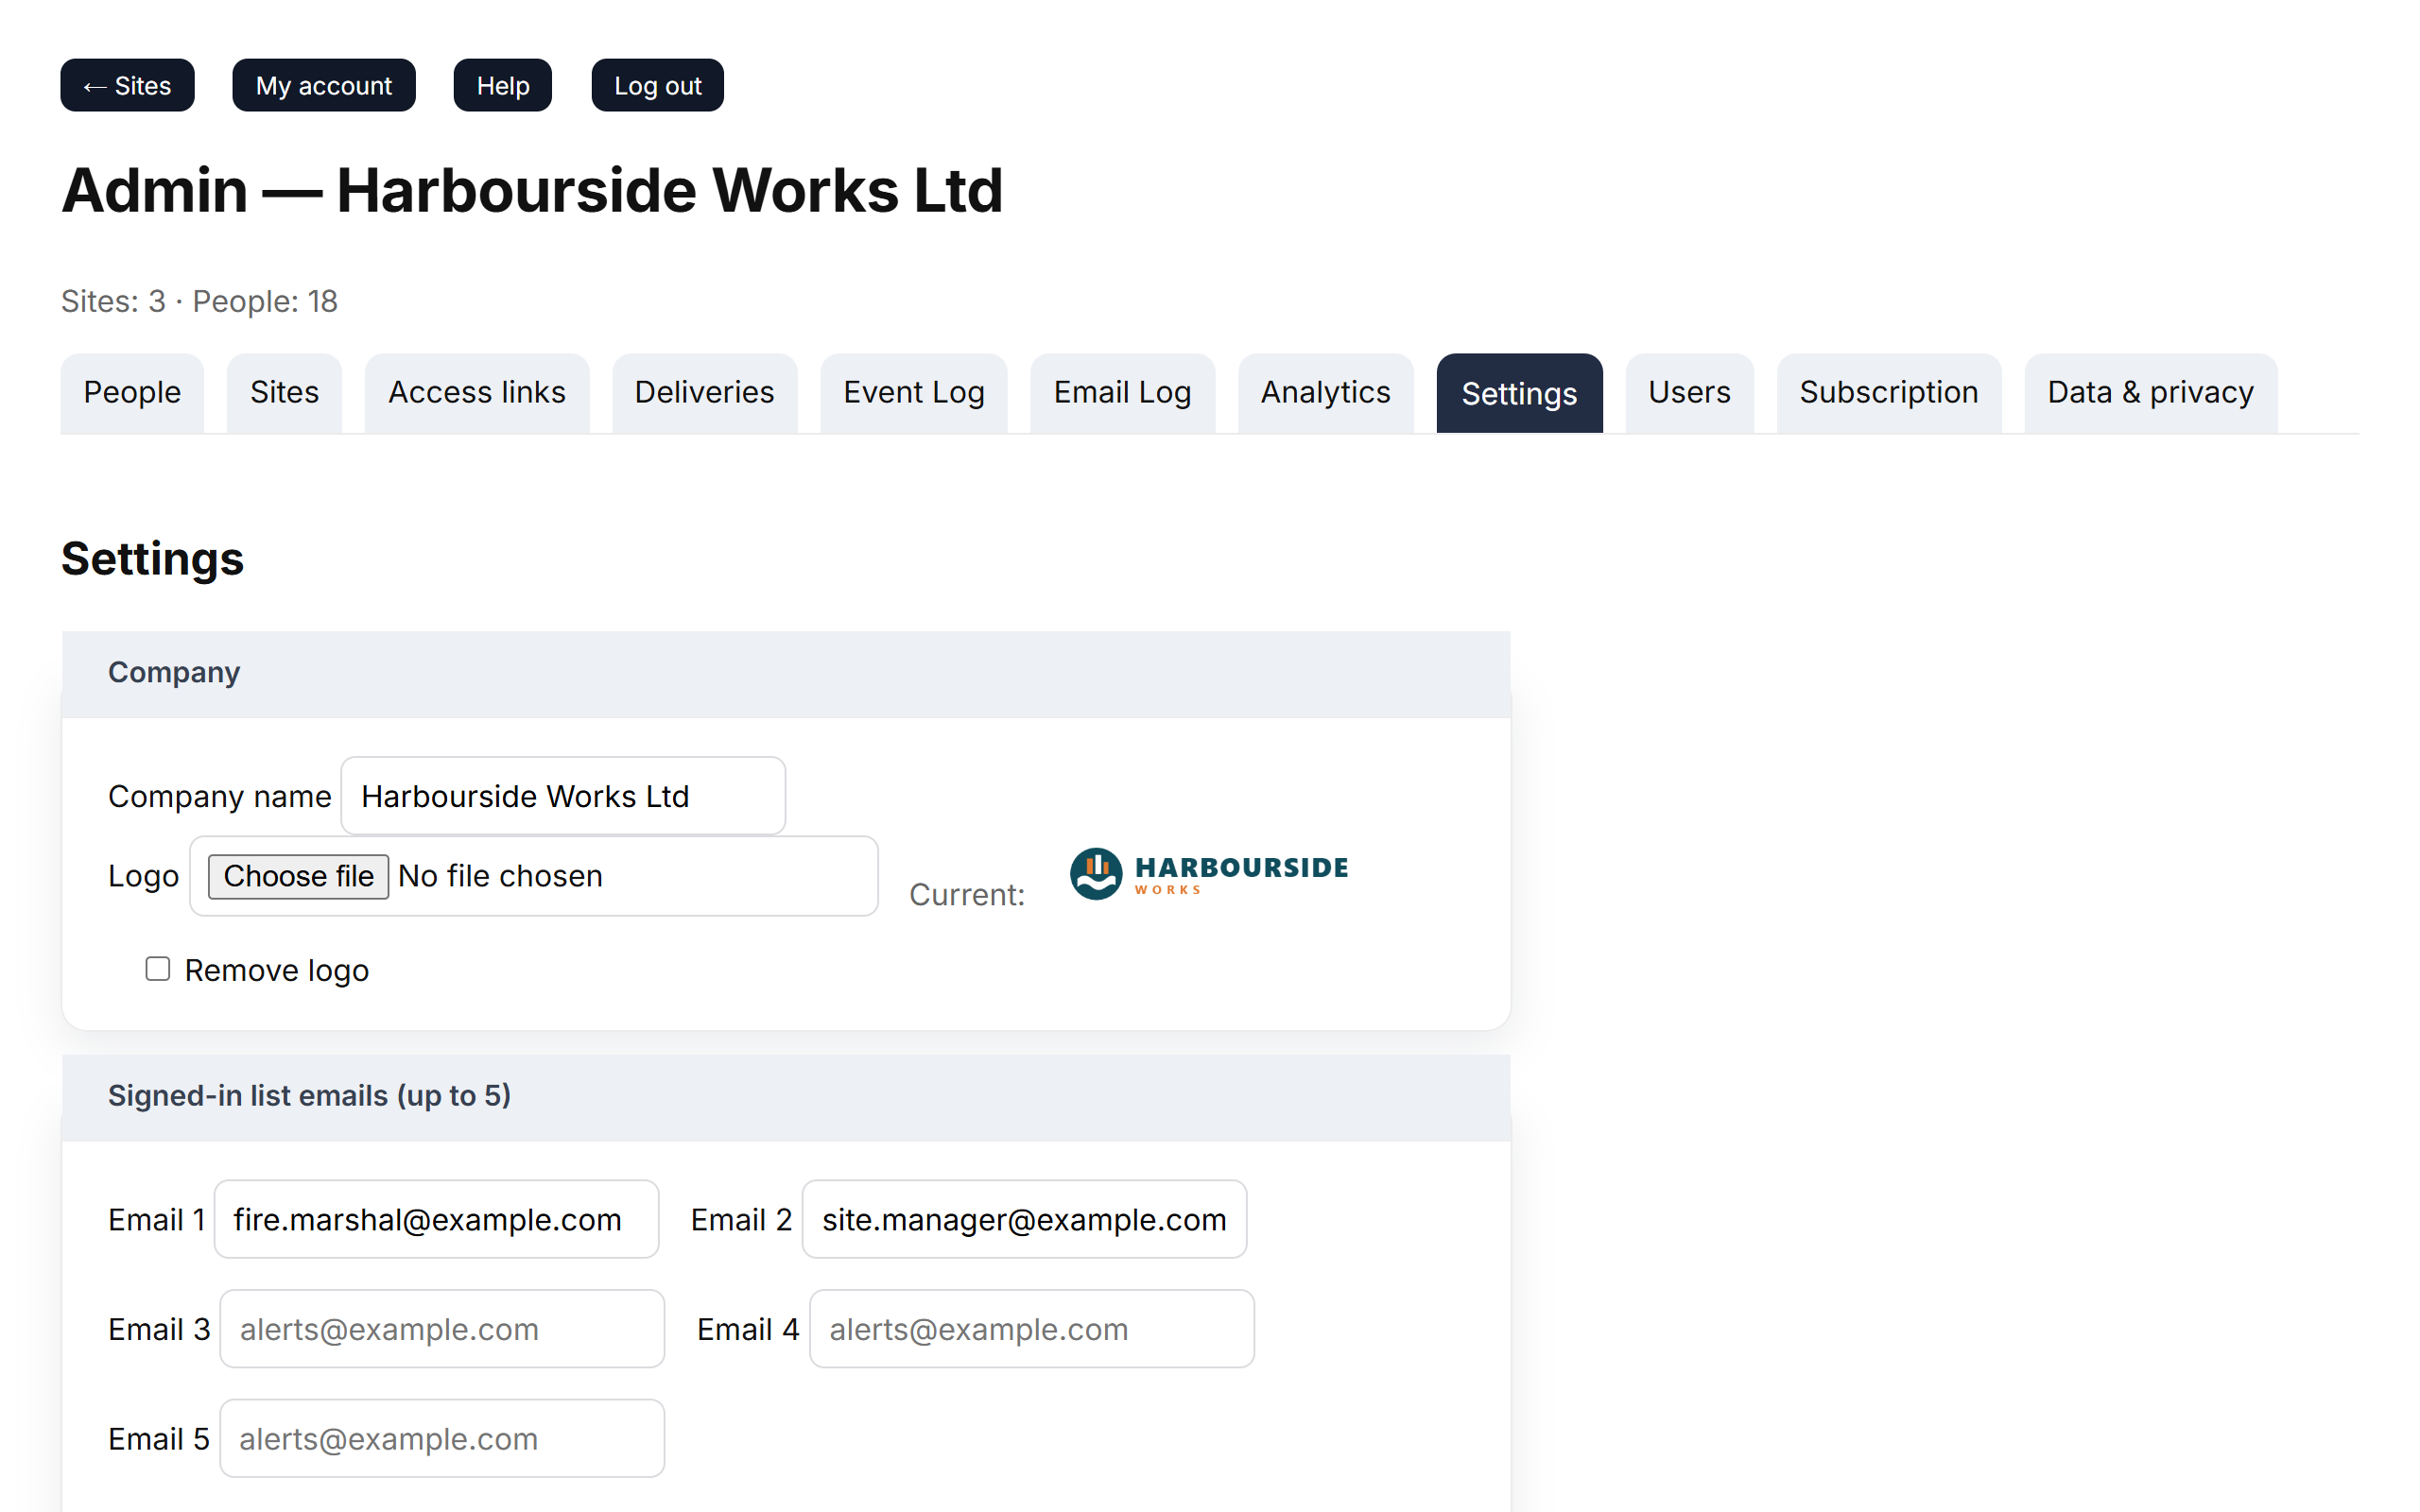
- Go to Admin → Settings.
- Under Company:
- check your Company name — it's used on pages and in emails;
- choose a Logo file to upload.
- Under Signed-in list emails (up to 5), enter the addresses that should receive the Signed-in List — usually your fire marshals or site managers.
- Click Save settings.
Logo requirements
- PNG, JPG or WEBP, up to 2 MB.
- A wide logo on a transparent or white background looks best on the sign-in screen.
- To go back to no logo, tick Remove logo and save.
Your logo appears on the sign-in screens, on view-only links and at the top of emails.
Automatic sign-out
Further down the page, Automatic sign-out decides when people who forget to sign out are signed out: At midnight (the default) or After a set time. If anyone works past midnight, read Automatic sign-out and night shifts before changing it.
Good to know
- If you don't upload a logo, the sign-in screen shows your company name instead.
- Invalid email addresses are dropped when you save, so check the list after saving.
- Send a test Signed-in List after changing the recipients, so you know it arrives.